How to Install a Vault Door Step-by-Step: A Complete Guide to Securing Your Space
Introduction
A vault door isn’t just for banks anymore. These heavy, tough doors are now popular in homes and offices to add top-notch security. Did you know that roughly 2 million burglaries happen in the U.S. each year? Installing a vault door can significantly cut that risk, giving you peace of mind knowing your valuables are protected.
Many wonder if installing a vault door is complicated or needs special skills. The truth is, it’s easier than you think, especially when you follow clear steps. This guide will walk you through the process from start to finish, so you can do it yourself or understand what a professional can do. Proper installation is key for safety and longevity, so read closely and get ready to secure your space.
Choosing the Right Vault Door for Your Space
Types of Vault Doors
Vault doors come in various styles suited for different needs. There are residential vault doors, used in homes for safes or hidden storage. Commercial vault doors are bigger, often used for protecting businesses or data centers. Ballistic doors offer high resistance against attacks, perfect for high-threat areas. Fire-rated vault doors help protect against fires, keeping items safe for a set time.
Materials vary, including steel, reinforced concrete, and even composite options. Size is another factor — measure carefully to get a door that fits perfectly. Think about what you need to protect and how much space you have.
Standard vs. Custom Vault Doors
Standard vault doors are ready-made, which saves money and time. They do the job well and are available in many sizes. Custom vault doors take things a step further, fitting your exact space and design preferences. Opting for a custom door allows for special features or aesthetic touches, making your security more personal.
The downside? Custom options can cost more and may take longer to produce. Keep your budget and timeline in mind when choosing.
Key Features to Look For
When searching for a vault door, certain features stand out:
- Multi-point locking systemsfor extra security
- Reinforced steel frames and panels
- Biometric or digital access controls for quick but secure entry
- Corrosion-resistant finishes for longevity
- Stylish looks that blend into your decor
Always check if the door meets industry standards like UL or ASTM certifications to ensure safety and quality.
Tools and Materials Needed for Installation
Essential Tools
Gather these tools before starting:
- Power drill with masonry bits
- Level for perfect alignment
- Measuring tape to check dimensions
- Screwdrivers for adjustments
- Safety gear: gloves, goggles, mask
High-quality tools make the job safer and easier. Cheap tools tend to slip or break, risking damage or injury.
Materials and Hardware
Your vault door kit should include:
- The main door and frame
- Hinges and bolts
- Heavy-duty anchors and fasteners
- Shims and sealant for gaps
Make sure all hardware matches your wall type — whether concrete, brick, or drywall. Compatibility is key to a secure fit.
Preparation Tips
Check your wall strength—concrete or brick walls need special anchors. Clear the workspace of debris and obstacles. Preparing well prevents surprises during installation and ensures safety.
Always wear safety gear—this project involves heavy parts and power tools.
Step-by-Step Vault Door Installation Process
Preparing the Installation Site
Measure your door opening carefully and mark where the frame will go. Double-check wall stability — loose or cracked walls won’t hold the weight. Use a level to make sure your marks are straight.
Creating a stable foundation prevents future misalignments or closing issues.
Installing the Door Frame
Start by securing the frame to the wall or concrete surface. Use anchors suited for your wall type—steel anchors are common for concrete. Shims help fine-tune the positioning, making sure the frame is perfectly aligned and level. Tighten everything securely, but avoid overtightening, which could crack the material.
A solid, level frame makes opening and closing smooth later on.
Attaching the Vault Door
Now, mount the hinges onto the door first. Carefully set the door onto the frame, lining up hinge pins with their sockets. Adjust hinges if needed, so the door swings without sticking or dragging. Tighten hinges firmly once in place.
Pay special attention to the door’s alignment to avoid issues with the locking system or gaps.
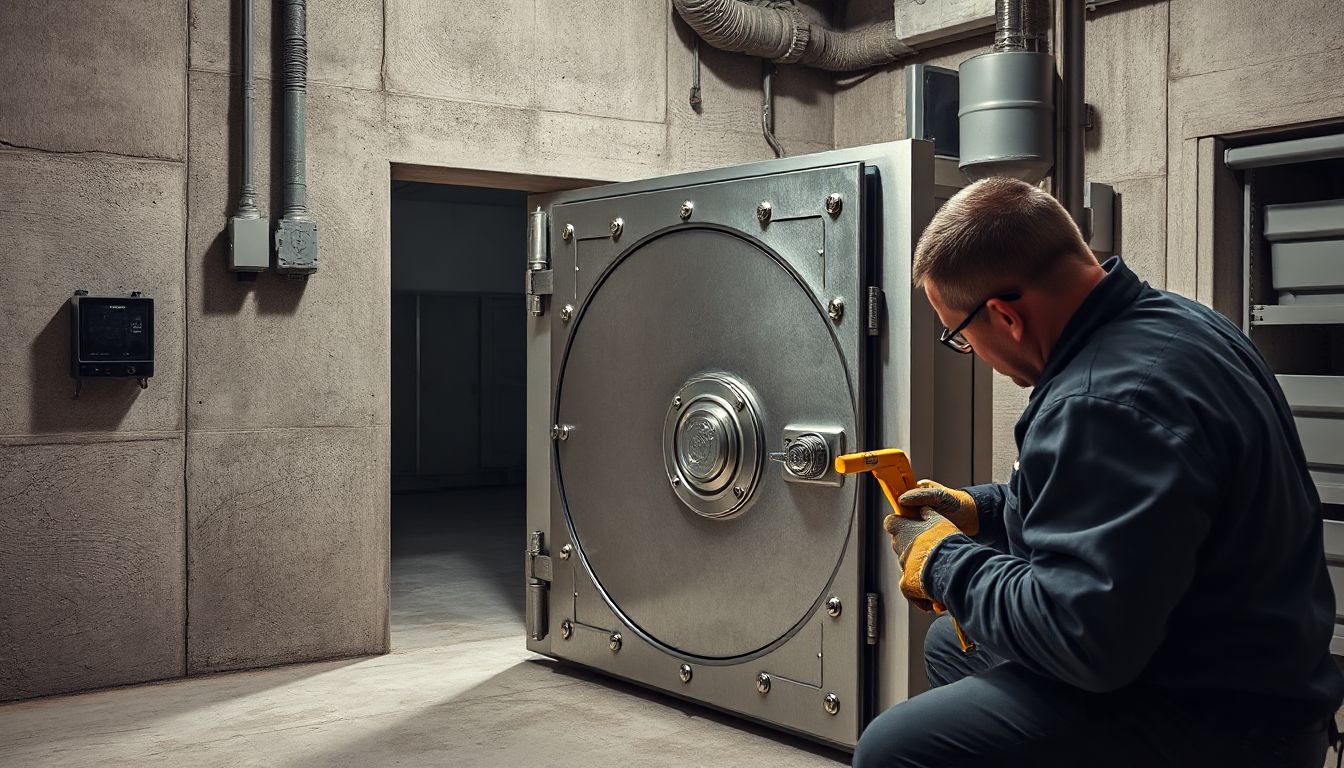
Securing and Testing the Door
Install all your chosen locking mechanisms — digital panels, biometric systems, or traditional locks. Once everything is in place, test the door: open, close, lock, and unlock multiple times. Make sure the door seals tightly and that there are no gaps.
If something’s off, don’t hesitate to call in a professional for adjustments. Proper testing guarantees your setup will protect what matters most.
Final Tips and Best Practices
Keep your vault door in top shape with regular checks. Lubricate hinges, test locking systems, and inspect for rust or wear. If the setup feels complex, hiring a professional locksmith or installer ensures safety and peace of mind.
Always store manuals and manufacturer instructions nearby for troubleshooting or future upgrades. Proper maintenance keeps your security investment working perfectly for years to come.
Conclusion
Installing a vault door provides unmatched security for your home or business. The secret is careful planning, precise measuring, and quality materials. Whether you decide to install it yourself or hire a pro, doing it right matters. Remember, a well-installed vault door not only keeps intruders out but also offers peace of mind that your valuables are safe.
Don’t forget: regularly review your security system, and upgrade when necessary. Your safety depends on it.
How to install a vault door step-by-step
How to Install a Vault Door Step-by-Step: A Complete Guide to Securing Your Space
Introduction
A vault door isn’t just for banks anymore. These heavy, tough doors are now popular in homes and offices to add top-notch security. Did you know that roughly 2 million burglaries happen in the U.S. each year? Installing a vault door can significantly cut that risk, giving you peace of mind knowing your valuables are protected.
Many wonder if installing a vault door is complicated or needs special skills. The truth is, it’s easier than you think, especially when you follow clear steps. This guide will walk you through the process from start to finish, so you can do it yourself or understand what a professional can do. Proper installation is key for safety and longevity, so read closely and get ready to secure your space.
Choosing the Right Vault Door for Your Space
Types of Vault Doors
Vault doors come in various styles suited for different needs. There are residential vault doors, used in homes for safes or hidden storage. Commercial vault doors are bigger, often used for protecting businesses or data centers. Ballistic doors offer high resistance against attacks, perfect for high-threat areas. Fire-rated vault doors help protect against fires, keeping items safe for a set time.
Materials vary, including steel, reinforced concrete, and even composite options. Size is another factor — measure carefully to get a door that fits perfectly. Think about what you need to protect and how much space you have.
Standard vs. Custom Vault Doors
Standard vault doors are ready-made, which saves money and time. They do the job well and are available in many sizes. Custom vault doors take things a step further, fitting your exact space and design preferences. Opting for a custom door allows for special features or aesthetic touches, making your security more personal.
The downside? Custom options can cost more and may take longer to produce. Keep your budget and timeline in mind when choosing.
Key Features to Look For
When searching for a vault door, certain features stand out:
Always check if the door meets industry standards like UL or ASTM certifications to ensure safety and quality.
Tools and Materials Needed for Installation
Essential Tools
Gather these tools before starting:
High-quality tools make the job safer and easier. Cheap tools tend to slip or break, risking damage or injury.
Materials and Hardware
Your vault door kit should include:
Make sure all hardware matches your wall type — whether concrete, brick, or drywall. Compatibility is key to a secure fit.
Preparation Tips
Check your wall strength—concrete or brick walls need special anchors. Clear the workspace of debris and obstacles. Preparing well prevents surprises during installation and ensures safety.
Always wear safety gear—this project involves heavy parts and power tools.
Step-by-Step Vault Door Installation Process
Preparing the Installation Site
Measure your door opening carefully and mark where the frame will go. Double-check wall stability — loose or cracked walls won’t hold the weight. Use a level to make sure your marks are straight.
Creating a stable foundation prevents future misalignments or closing issues.
Installing the Door Frame
Start by securing the frame to the wall or concrete surface. Use anchors suited for your wall type—steel anchors are common for concrete. Shims help fine-tune the positioning, making sure the frame is perfectly aligned and level. Tighten everything securely, but avoid overtightening, which could crack the material.
A solid, level frame makes opening and closing smooth later on.
Attaching the Vault Door
Now, mount the hinges onto the door first. Carefully set the door onto the frame, lining up hinge pins with their sockets. Adjust hinges if needed, so the door swings without sticking or dragging. Tighten hinges firmly once in place.
Pay special attention to the door’s alignment to avoid issues with the locking system or gaps.
Securing and Testing the Door
Install all your chosen locking mechanisms — digital panels, biometric systems, or traditional locks. Once everything is in place, test the door: open, close, lock, and unlock multiple times. Make sure the door seals tightly and that there are no gaps.
If something’s off, don’t hesitate to call in a professional for adjustments. Proper testing guarantees your setup will protect what matters most.
Final Tips and Best Practices
Keep your vault door in top shape with regular checks. Lubricate hinges, test locking systems, and inspect for rust or wear. If the setup feels complex, hiring a professional locksmith or installer ensures safety and peace of mind.
Always store manuals and manufacturer instructions nearby for troubleshooting or future upgrades. Proper maintenance keeps your security investment working perfectly for years to come.
Conclusion
Installing a vault door provides unmatched security for your home or business. The secret is careful planning, precise measuring, and quality materials. Whether you decide to install it yourself or hire a pro, doing it right matters. Remember, a well-installed vault door not only keeps intruders out but also offers peace of mind that your valuables are safe.
Don’t forget: regularly review your security system, and upgrade when necessary. Your safety depends on it.
Other links and resources.
Home | FAQ | Fireproof Safes | Safes on Sale | Used Safes | Testimonials
© 1998-2018 Sportsman Steel Safes, Inc. All Rights Reserved.
Models, dimensions, prices and specifications subject to change without notice. Note: Shipping weight includes wrapping, pallet and protective crating.
Please note. Our safes are not warranted against flood damage